Easy wood burning with a stencil
Wood burning using ammonium chloride.
ARTS & CRAFTS
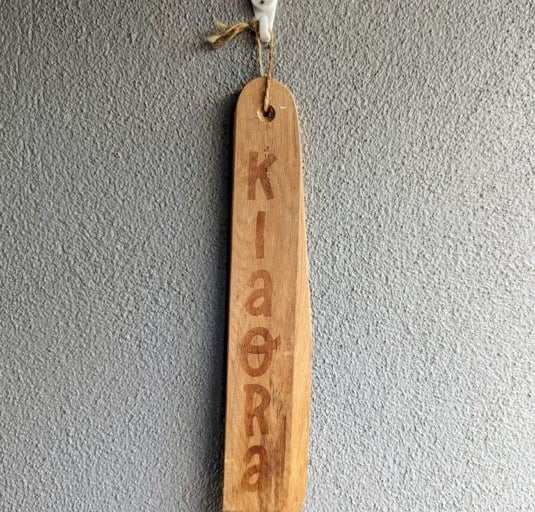
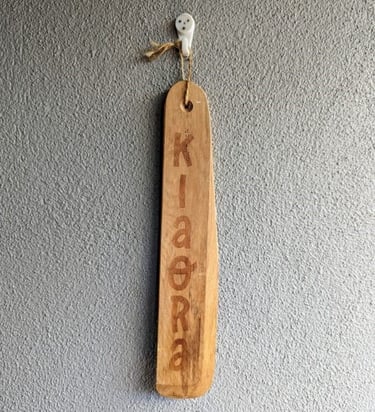
How easy is wood burning? I’ve seen a couple of videos saying how easy it was with the use of a paste and a heat gun. So, I put it to the test with this old wooden spatula lying around the house. And since I’m in New Zealand where it’s a bit tricky to obtain products recommended by the US teachers, I had to do a bit more research on what’s best to use and is available.
I’ve printed my stencil using my Cricut. Opted for a very simple font to begin with. Lightly sanded the wood and wiped with a clean dry cloth. I then transferred the stencil onto the wood.
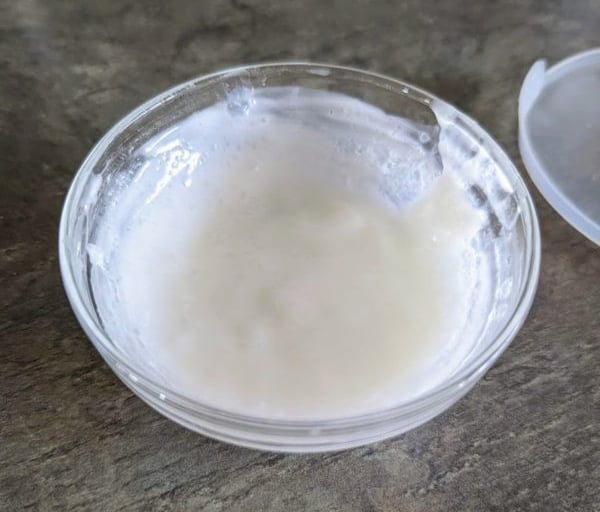
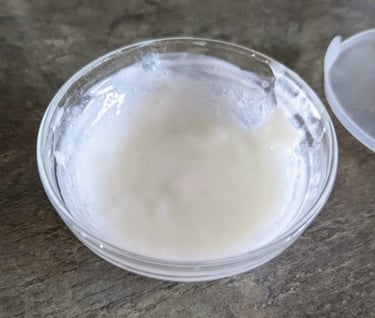
For this experiment, I am using Ammonium Chloride (in powder form), corn starch, and water. Got the Ammonium Chloride from Horselands and the corn starch from the Asian shops. I used Jennifer Maker’s recipe & method that you can find here. I’m only going to make 1/3 of the recipe because the spatula is small:
1 tsp Ammonium Chloride, 2 tsp Corn starch and 8 tsp water
I always remember my mom telling me to use cold water with corn starch as it doesn’t mix well in warm or hot water. I couldn’t wait for 10 minutes and also realised that corn starch will thicken once it’s heated. So, I put the mixture in the microwave and heated it in 10 second increments (mixing it in between) until it went thick and gel-like. Probably about 6 rounds of 10 seconds.
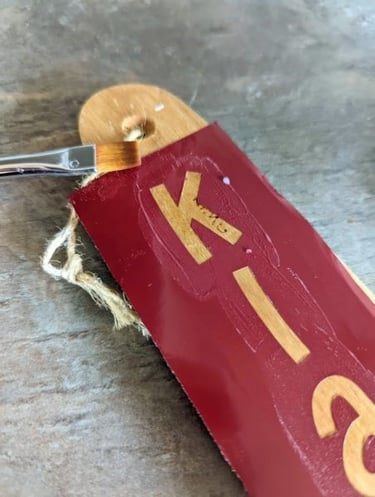
Time to paint the mixture over my stencil. They did say to only apply a very thin coat. I used a thin flat brush for this as you can see below. Made sure that I have painted over every letter evenly.
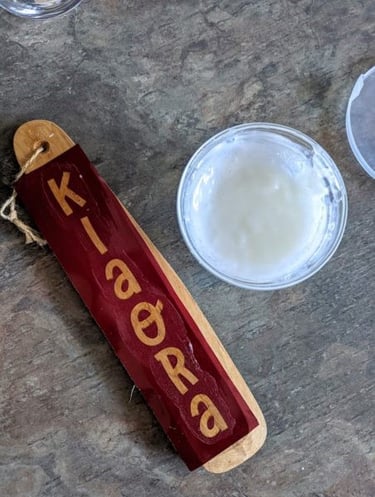
The next thing is to wait for it to dry. Less than 5 minutes tops for this small project. Once the mixture have dried, time to remove the stencil. Quite interesting to see that you can see a silhouette of the gel underneath. Make sure you use a very good stencil so the mixture will not bleed underneath.